How to activate and configure smoothing in Cura
Anti-aliasing is a setting in the Cura settings that allows smooth surfaces to be obtained on the top layers of the printed model.
By activating this function in Cura, the nozzle will move hot over the last layer, thus leaving a smooth surface.
To activate smoothing in Cura Go to the «Higher or Lower» settings and check the «Enable smoothing» box»
Once the box is checked, more options will appear that will allow you to change the default settings, in order to obtain the desired results.
- Iron only the top layer: Ironing will only be done on the last top layer.
- Smoothing pattern: Choose the ironing pattern for the top layers.
- Smoothing line spacing: determines the distance between lines (line thickness).
- smoothing flow: Percentage of extruded material during smoothing, it can fill some cracks on the surface.
- Smoothing insert: Distance that must be maintained from the edge so that there are no jagged edges.
- smoothing speed: The speed of the smoothing can be changed to adjust the process.

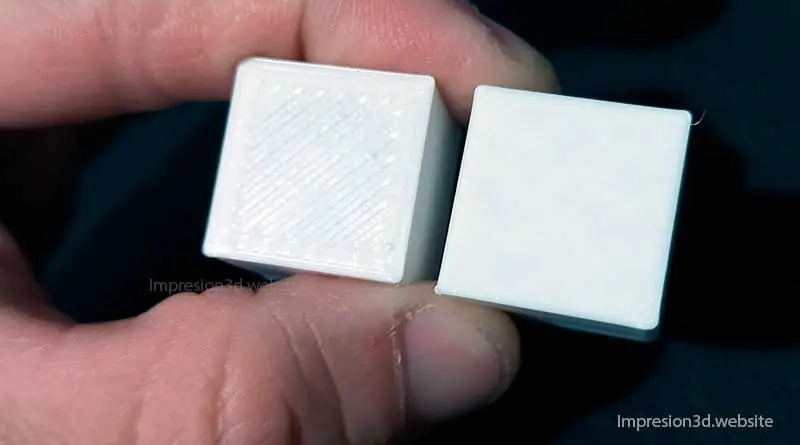
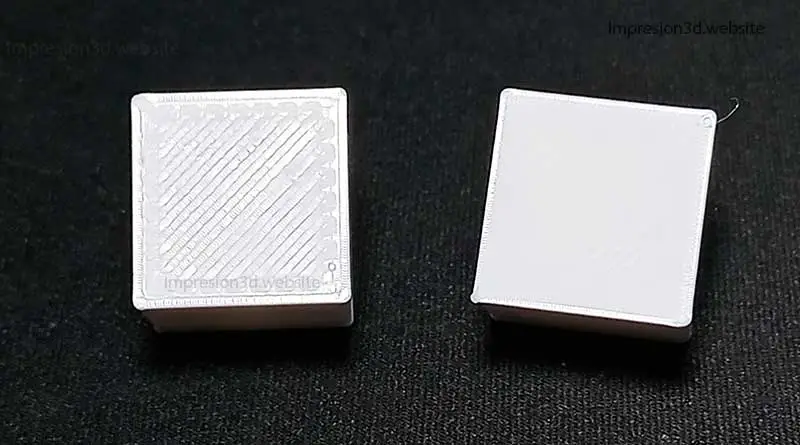
Once activated it prints a test cube with the default settings.
How does it work
After finishing printing the last layer (the top layer), the nozzle makes an extra stroke on the top layer, but this time making finer lines. This smooths out the surface and possibly corrects some cracks.
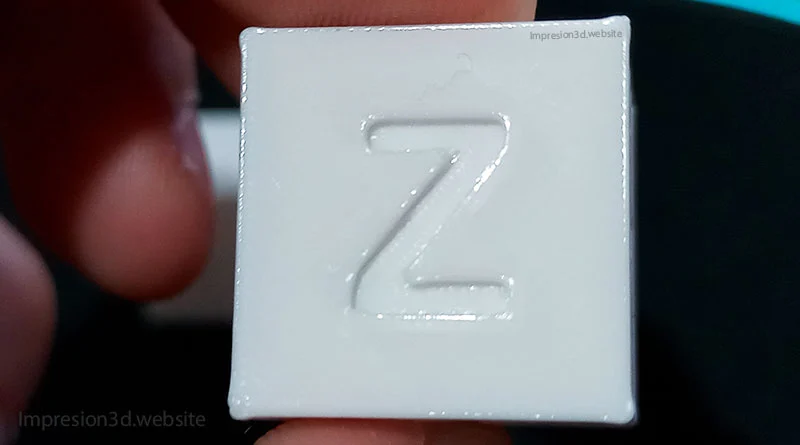
At the end of the process, the upper surface will be completely smooth and opaque, leaving a better finish on the upper layers.
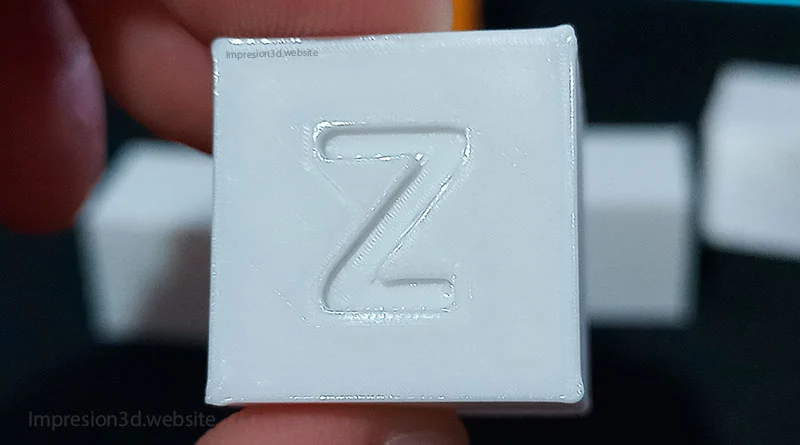
For the smoothing to work properly, the last layer must be good and well printed. That's why A minimum of 4 top coats are recommended, so that there are no gaps or cracks.
To achieve smoothness, the nozzle must make much thinner passes than normal (than the nozzle diameter) and extrude just the right amount of material, so as not to leave excess plastic that would harm the finish.
Smoothing Settings in Cura
Enabling smoothing irons all flat surfaces parallel to the heated bed.
In case you only want to smooth the last layer, then you should select Iron only the top layer.
In straightening pattern I recommend you choose Zig Zag, but you can do your own tests.
Now with the following options I recommend you leave the default options (for 0.4 nozzle) and print a test cube.
- Smoothing pattern: Zig Zag.
- Smoothing line spacing: 0.1mm.
- smoothing flow: 10.0 %.
- Smoothing insert: 0.38mm.
- smoothing speed: 20.0mm/s.
If you see that it has come out well then you can try printing with those settings.
If not, then continue experimenting by increasing or decreasing the smoothing flow. This will depend on whether you see an excess or lack of material deposited during the process.
- Smoothing pattern: Zig Zag.
- Smoothing line spacing: 0.2mm.
- smoothing flow: 17.0 %.
- Smoothing insert: 0.38mm.
- smoothing speed: 60.0mm/s.
Either way I recommend that do your own tests and then tell me what you thought of the finishes on your 3D pieces with this smoothing option in Cura.
Video on YouTube: Alexei's 3D Workshop
Tell me, what would you use smoothing in Cura for… 3D keychains? Custom parts?
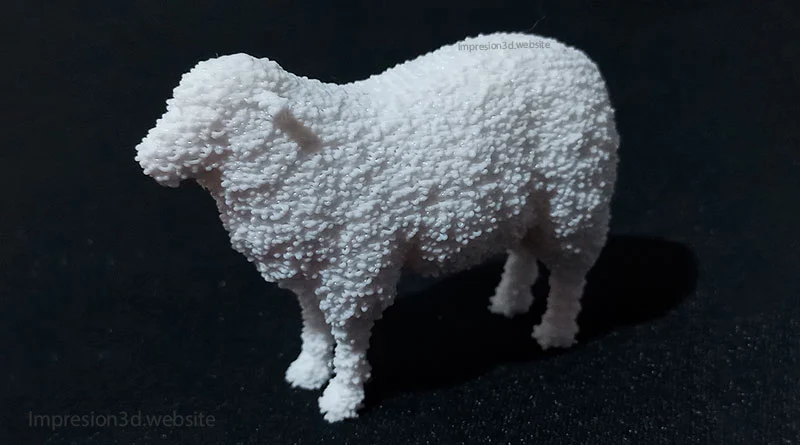
I invite you to read: Threads in 3D printing and how to avoid them, Fuzzy Lining in Cura – Add texture to your models!, and Spiralize the outer contour – Cura’s “Vase mode”.


Responses