How to hide seams in Cura
To hide seams in Cura go to Wall settings -> Z seam alignment and then choose the best options for the model to print.
To remove seams in Cura you will need to choose the best options in relation to the model you want to print.
You should consider if the model has sharp or curved corners.
What are seams in 3D printing?
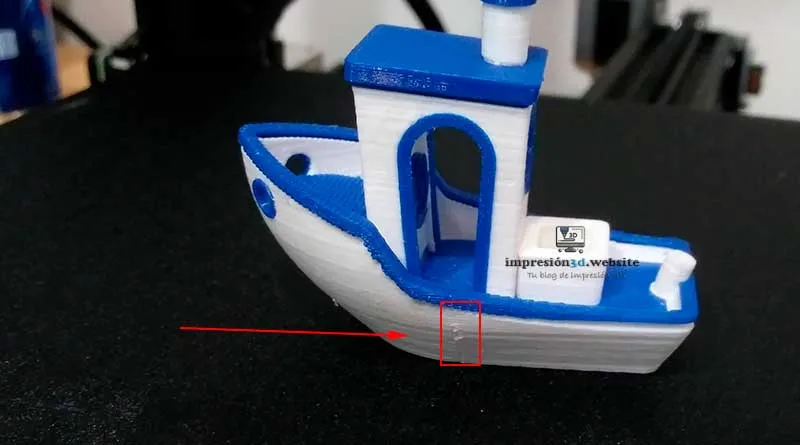
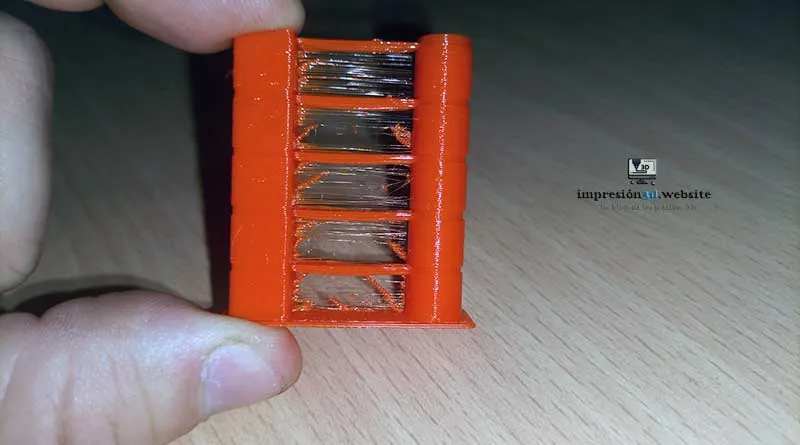
The seam in 3D printing is the junction between the beginning and end of a layer. It is the point where printing of a wall begins and the same point where printing of that wall also ends.
Every time a layer ends the nozzle must rise in order to continue printing the next layer.
This joining process, which occurs for each layer, is what is known as «seaming.».
It is at this «beginning and end» of a layer that an «overlap» of lines occurs, or excess plastic produced by poor flow configuration.
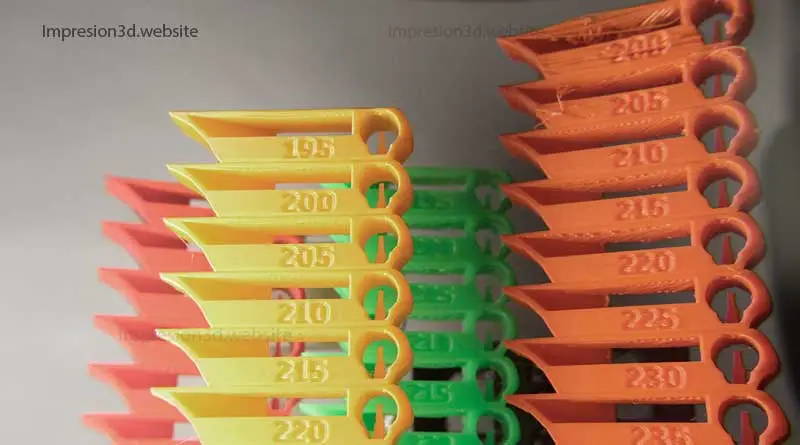
When these layers are joined on the exterior wall, the seam remains «visible» leaving a line, or excess plastic scattered in the form of dots around the entire printed model.
How to hide seams in Cura
Seams in 3D printing are inevitable and will always be present when working with this type of technology, However, there are some tricks to hide them..
To hide seams in Cura Go to Wall settings -> Z seam alignment then choose the best options for the model to print:
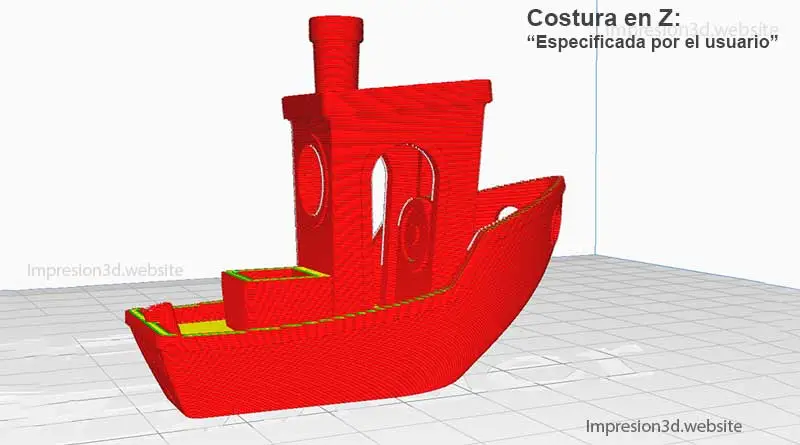
In 3D models with angular geometry (with sharp corners) choose:
- Z-stitch alignment: User Specified
- Z sewing position: (Select the location of the corner or vertices in the model.) For example, «Back Left»
- Seam Corner Preference: «Hide seam»
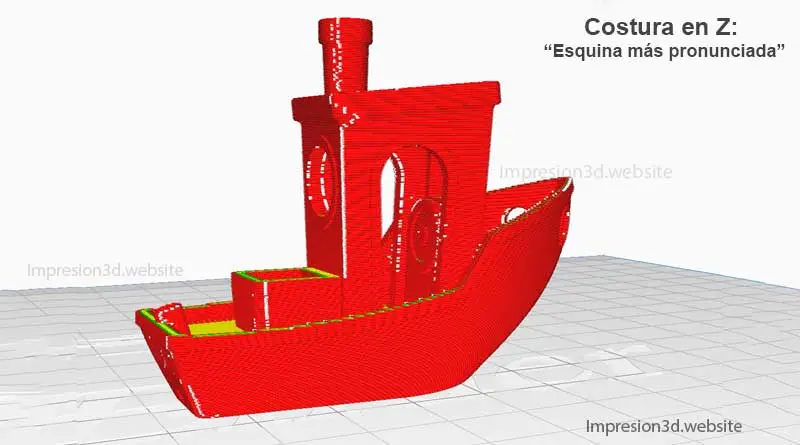
For curved or more elaborate 3D models choose:
- Z-stitch alignment: Sharpest corner
- Seam Corner Preference: «Hidden Seam» or «Smart Seam»
To successfully hide seams, it is necessary to take into account the shapes, angles, and position of the model on the heated bed.
Then use this data to configure Cura so that you can hide the seams with the help of the preview.
From the Preview of Cura you will be able to preview the place where the seams will be and if they will be visible or not.
Avoid seams facing the pattern, if you can't remove the seams then Place them in the back, where they are not so visible.
Video on YouTube: Alexei's 3D Workshop
I invite you to read: How to activate and configure smoothing in Cura a post you might like.


There is an option that makes the seam almost imperceptible. It's in the "experimental" section. It's called a buffer tank and what it does is stop extruding filament for the distance specified by the user. In this way, it fills the seam with the excess material that continues to come out of the noozle before retraction.
I misspelled nozzle. 😅
Thank you for your visit and comment! all contributions are welcome.
Later I will do some experiment with that function and show the results.