How to separate objects from an STL and export them individually
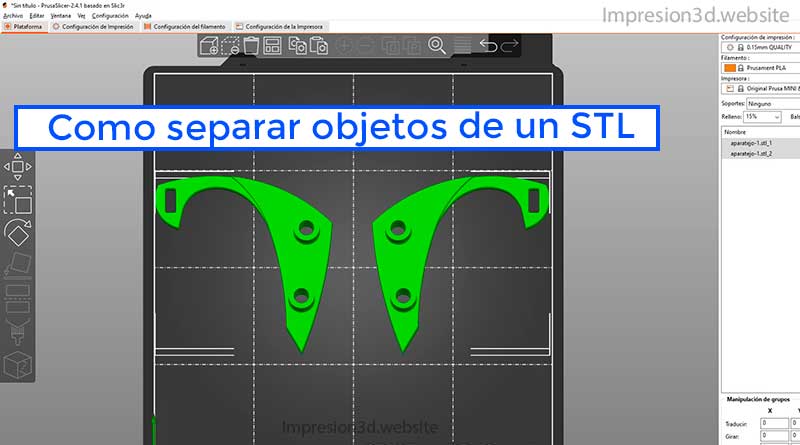
To separate objects within the same STL file you will need to use a program like PrusaSlicer to split them.
- Open PrusaSlicer and import the STL file
- Right click about the objects
- Choose «Divide» and click «To the Objects»
- Choose the object to export and select it.
- Right click on the chosen model.
- Choose «Export as STL…»
- Enter the new name and select «Save»
- Repeat the process for the other objects you want to separate.
Now you have your model in a separate STL file from the rest.
Separate objects with PrusaSlicer
Sometimes when doing a job you find that there are several objects or parts inside a single STL file, and this is a problem because you need to work with each part individually.
In order to continue working, what you need is separate objects inside that file and then export them individually.
PrusaSlicer is a slicer software, based on the open source project Slic3r. This software published by Prusa Research will allow you to use a function to separate objects and save them individually.
If you do not have this program on your PC you can download it from Here.
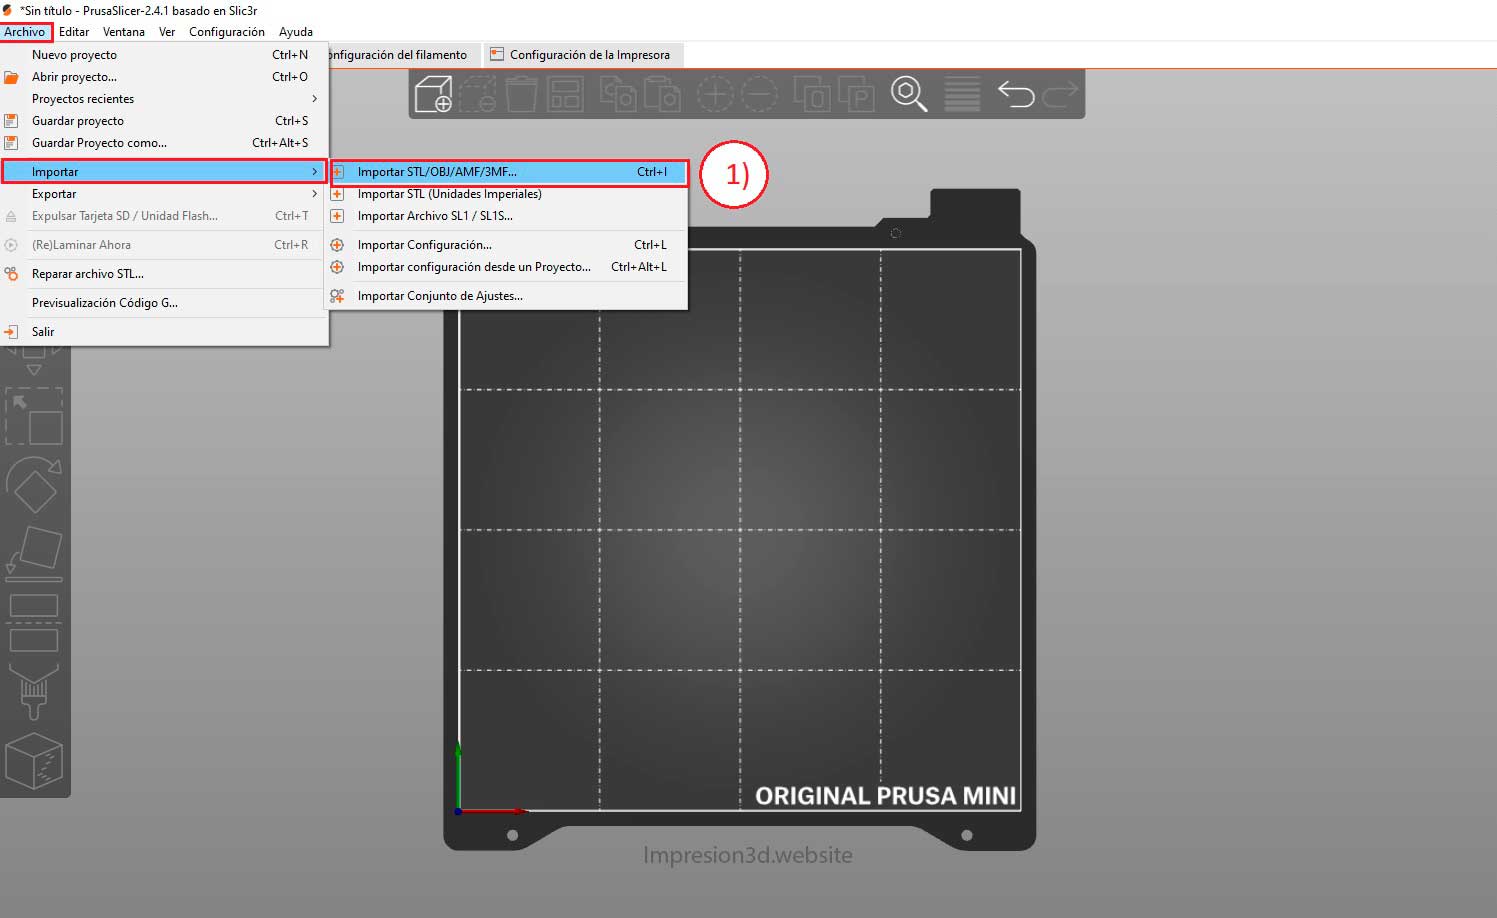
Install PrusaSlicer and import your STL file
1) Import the STL file
Select: File => Import => Import STL/OBJ/AMF/3MF
Choose the file that contains the objects you want to separate
Once you open your STL file, you will notice that since there are several objects within the same file, they cannot be ordered or modified separately.
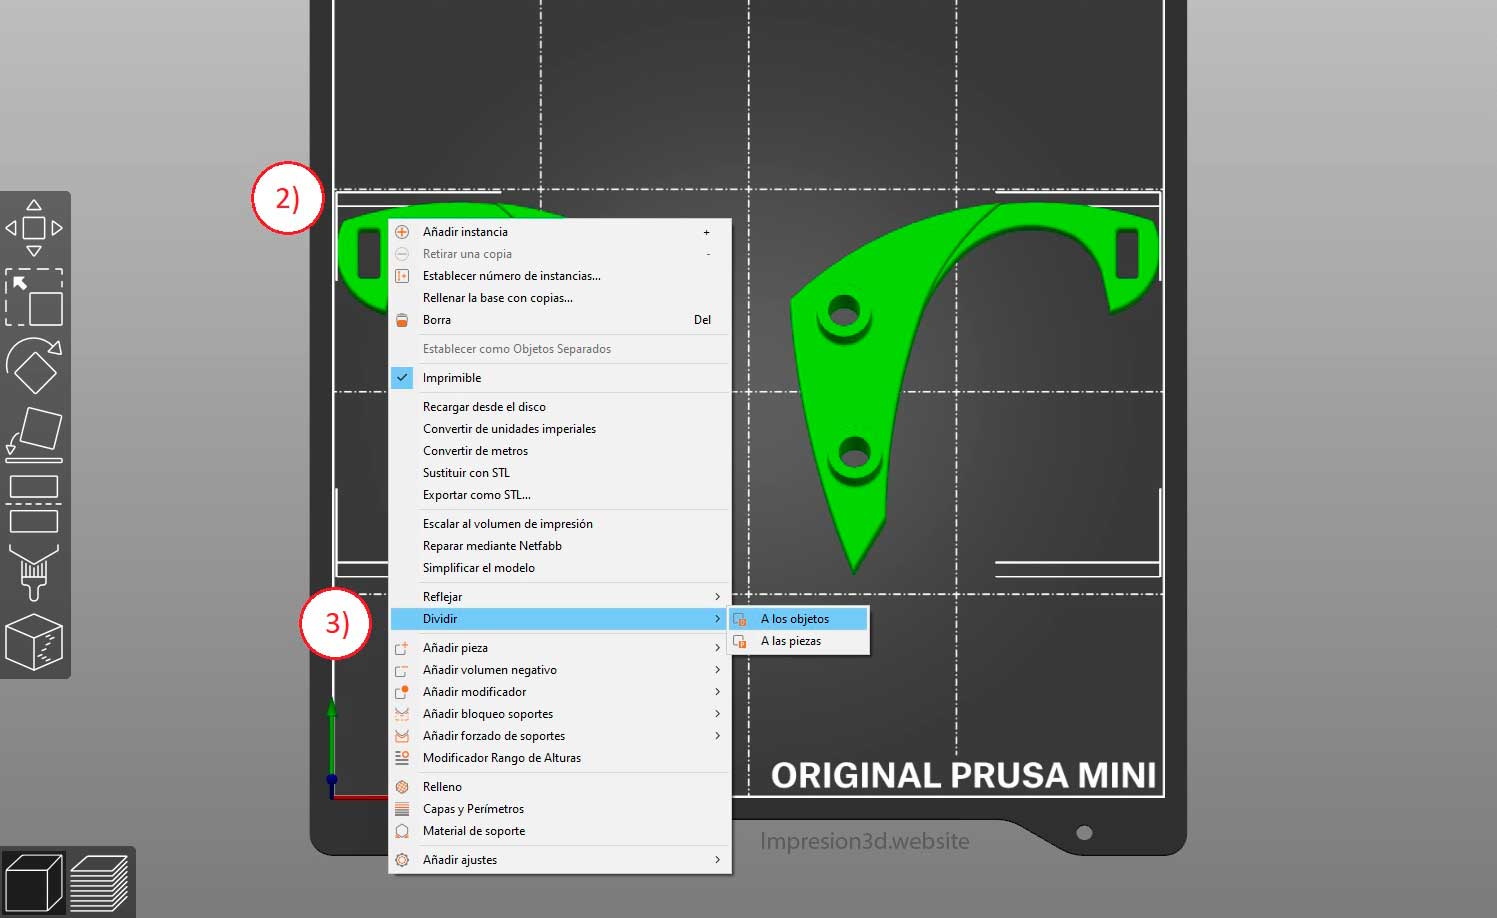
2) and 3) Right click on the imported objects
Right click => «Split» => «to the objects«
After doing right click, you must select the «Split» and then the «to the objects«
After this you will see that the pieces can move separately.
Here you have already managed to separate them, all that remains is to import each model separately.
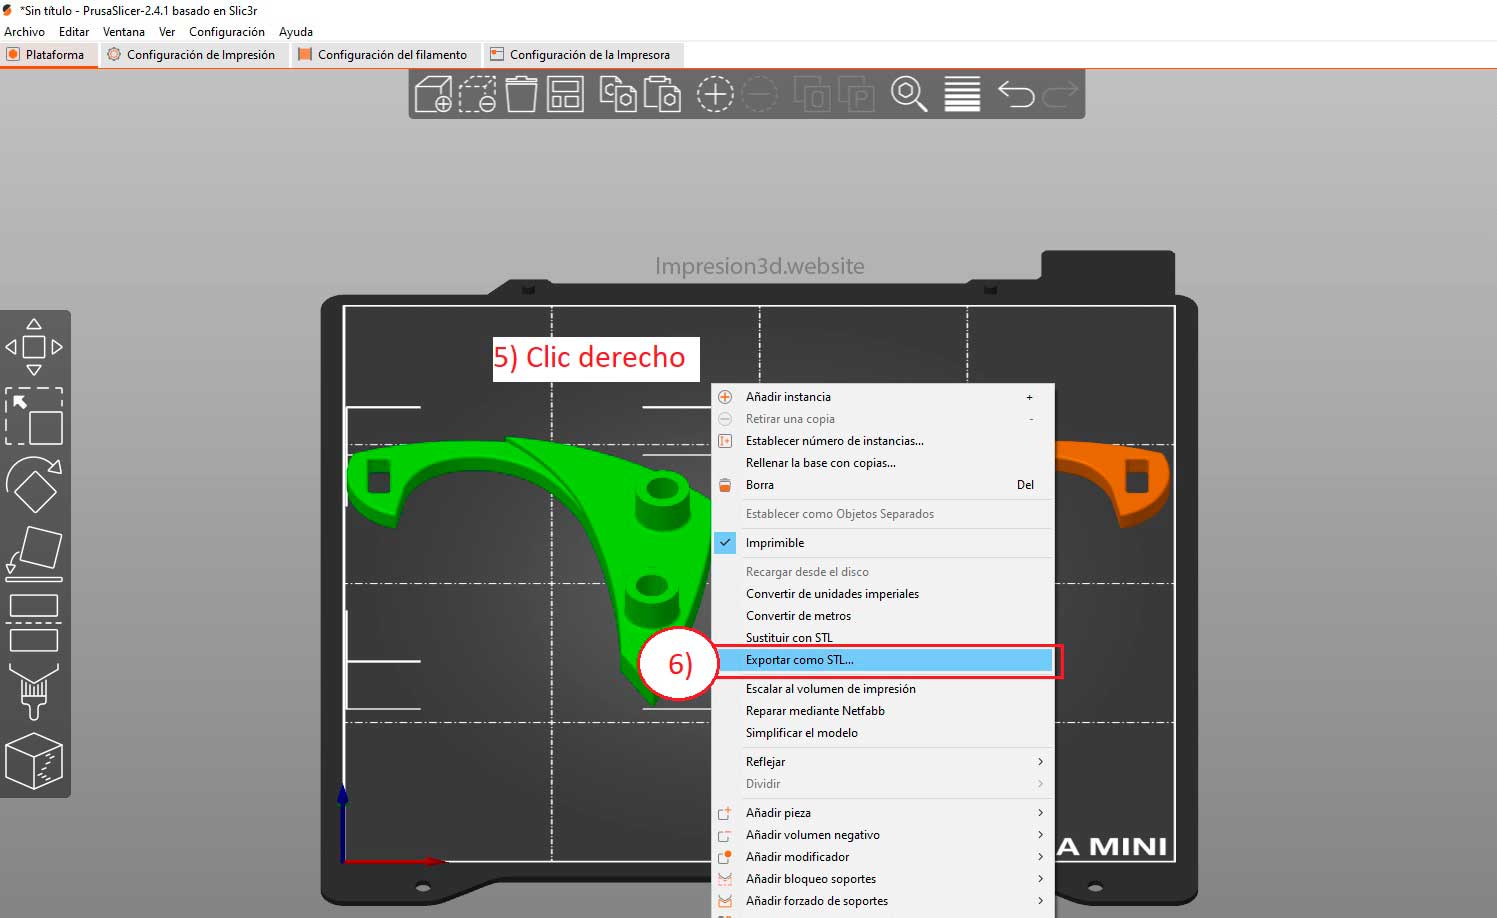
4) Select the model to export
If after performing the operation the objects are still joined, try clicking outside the current selection, i.e. «deselect» and then «reselect».
At this point all objects should be moving freely in the workspace.
Select the model you want export.

5) and 6) Right-click and select «Export as STL…”«
Once you have chosen the model you want to export right click and choose the option «Export as STL…»
With this you will achieve that your chosen model or piece is saved independently, in a new STL file.
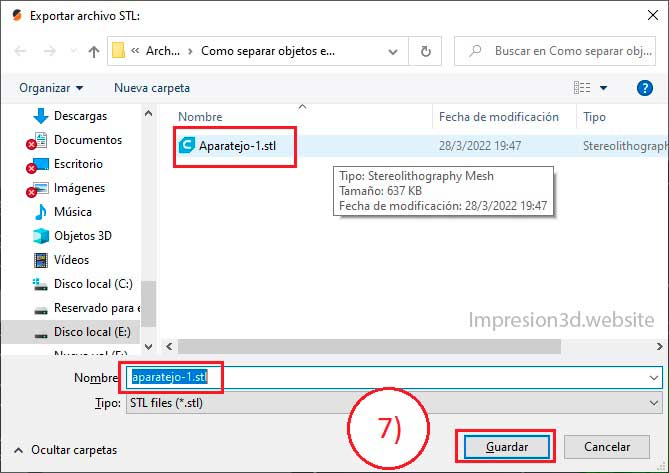
7) Enter the new name and select «Save»
In this step you can choose the folder in which you want the new STL file to be saved, you can put a name to differentiate it from the previous file.
Once the folder is chosen, select «Save» And that's it, you will have completed the process of separating objects in the same STL file.
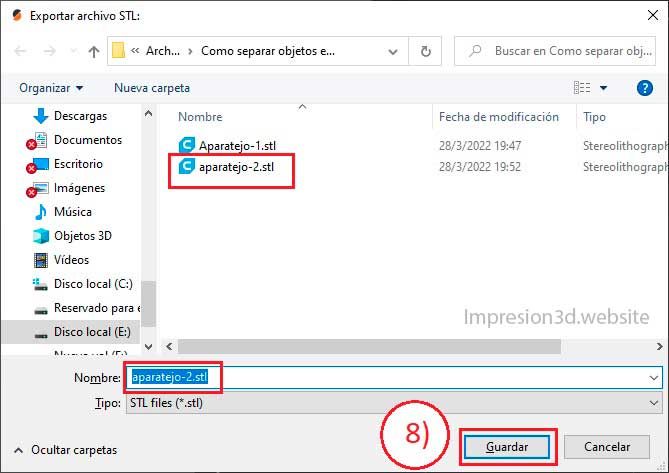
8) Repeat the process for the other objects you want to separate.
If you have several objects in your STL file, you will have to repeat the process until you have saved them independently in their own STL file.
That's all, I hope it helped you.
If you are interested in PusaSlicer I invite you to read the following post: PrusaSlicer: The laminator from Prusa Research


Responses