
How to clean the nozzle of the 3D printer (All options).

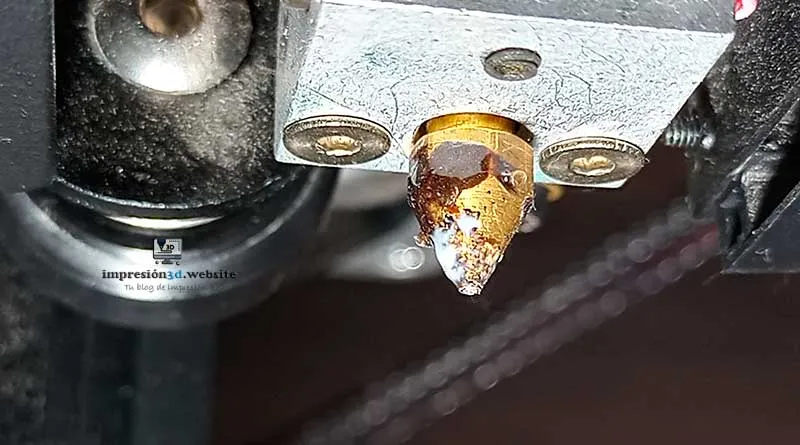
The 3D printer nozzle usually accumulates a large amount of plastic that, if not cleaned, burns and turns black over time.
This implies a danger in the quality of the pieces, since if burnt plastic comes off the nozzle can leave black dots around the printed models.
One of the symptoms that the nozzle needs cleaning is that when extruding the filament does not flow down consistently, but bends to one side.
The correct thing is always that the filament extrudes smoothly downwards (without deviating to the side).
Today I want to do a list of the different ways to clean the 3D printer nozzle (inside and out), since keeping the extruder nozzle clean can save you money and also deliver high quality 3D printed parts.
To clean the nozzle the Hotend must be hot.
1. Keep the mouthpiece clean
One of the best ways in the world to clean is to find the origin of the dirt and eliminate that cause from the root.
In case of 3D printer nozzles, the reason they get dirty is because you never clean them and you let the plastic build up.
You must clean the nozzle before and after using the 3D printer, always.
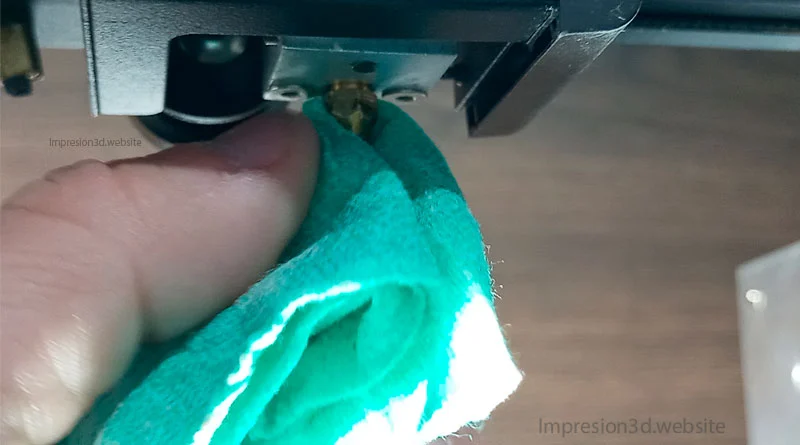
Use a rag or paper napkin to clean the nozzle (being very careful not to burn yourself), since you must do it while hot when the plastic is loose.
Get into the routine of always cleaning, before and after each print and you will see how the nozzle of your printer will not only always be clean, but it will last much longer, saving you money.
2. Use tweezers to remove the burned plastic
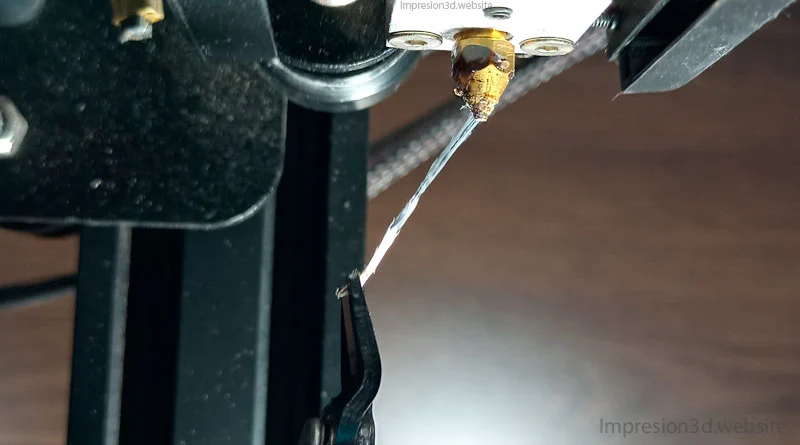
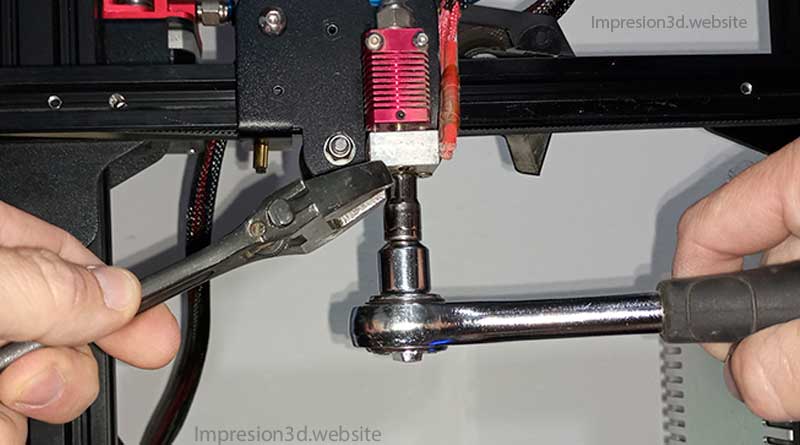
When the molten filament has stuck to the nozzle and cannot be removed with a rag, then use tweezers or pliers to remove it.
In this case, you can play with the temperature so that it softens and it is easier to peel it off.
Try putting it between 150°C and 215°C and then carefully remove any plastic stuck to the mouthpiece.
3. Cold pull
One of the options for clean the nozzle inside is to use the cold pull, this method consists of lowering the temperature of the nozzle to 90 ° C and then pulling the filament until it is completely removed.
To use this method you need that the nozzle is hot (at the temperature at which the filament melts) and with the filament inside the nozzle, including extruding a bit manually.
Then you have to lower the temperature to 90 ° C and then simply pull the filament until it comes out or "unstuck" from the nozzle, coming out completely.
You may encounter a little resistance when pulling, but the filament will come off making a little noise as you do so.
Some recommend doing it with PETG filament that melts at a higher temperature and sticks to the PLA, pulling everything together.
4. Cleaning 3D Filament
There are 3D filaments whose main function is to clean the nozzles. These filaments work like a normal filament, melting and cleaning the inside when extruding through the nozzle.
Heat the nozzle to the manufacturer's recommended temperature, then manually feed the filament to be extruded from the nozzle.
Leave the filament to act for a few minutes, then extrude a little more.
After this process the mouthpiece should be clean. (The cold pull method can also be used with this filament.)
5. Use a soldering iron
One of the most important conditions when cleaning the printer nozzles is that the nozzle is hot.
Doing some research on YouTube I discovered that several people are using a trick with a soldering iron that seems to be efficient and comfortable.
The trick is to use the soldering iron to heat up a block of aluminum that you are going to screw the nozzle into.
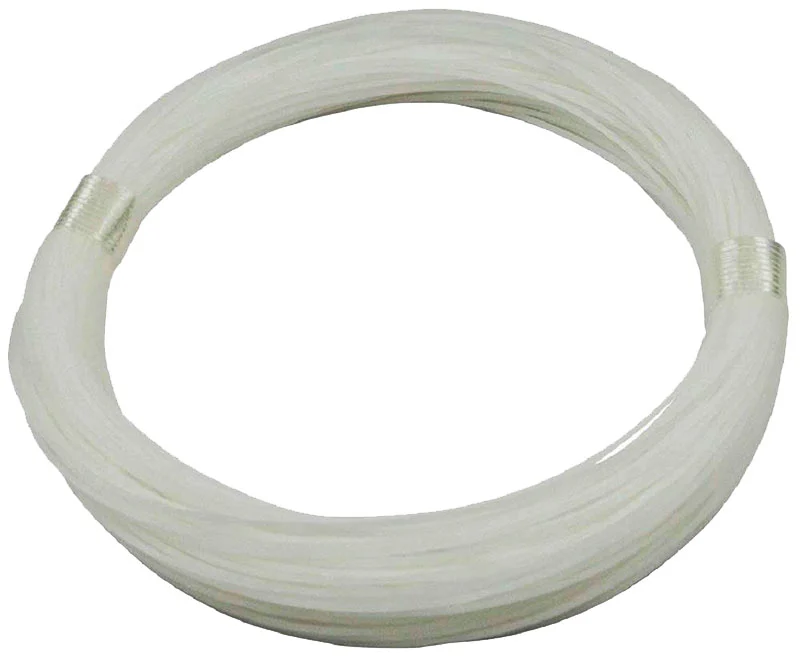
Then you are going to use a metal brush to clean the outside and a transparent filament to clean the inside.
I found it an interesting method and that's why I wanted to share it with you
Video on YouTube: bugeo 3d
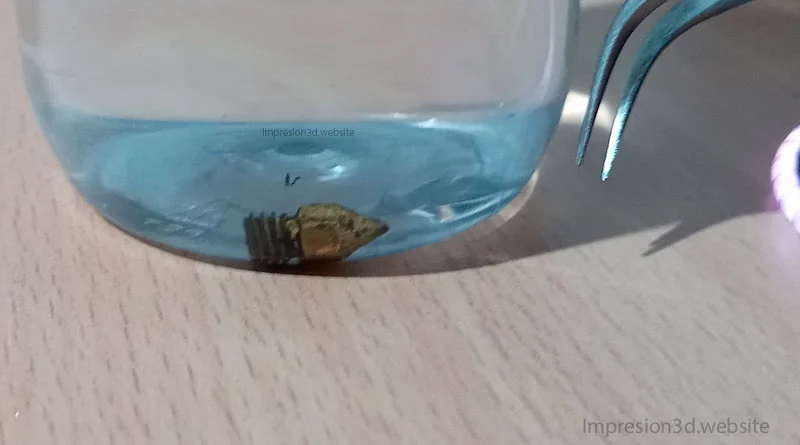
6. Soak the nozzles in pure acetone
Another option for cleaning the nozzle is to chemically dissolve the stuck plastic with liquid acetone.
The way to do this is to submerge the nozzle in a container of pure acetone for several hours.
Plastic debris should come off.
7. Burn and immerse in water
I do not recommend this option for a security issue and if it is done incorrectly, the mouthpiece can break or even suffer burns to your hands.
I leave the option only because it exists, and it is something that some do.
I make it clear that everyone is responsible for what they do. (I No I recommend it).
Video on YouTube: Vision Miner
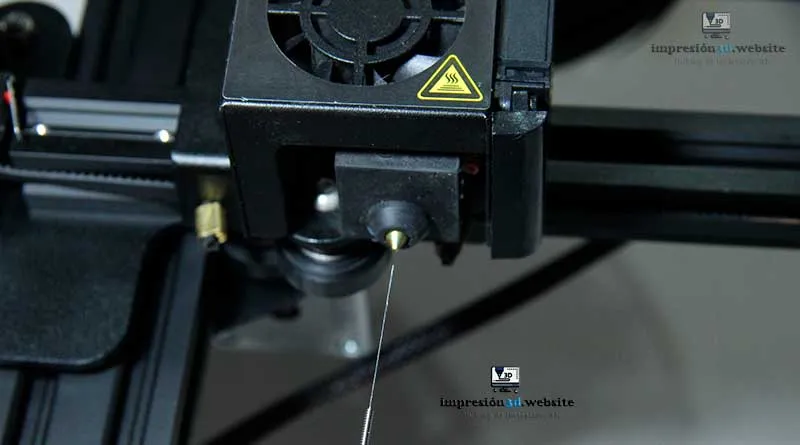
8. Use the needles
Normally when you buy a 3D printer, thin and long needles come in the form of accessories that are used to uncover blockages in the nozzles.
These needles can be used to uncover blockages that may be the remains of melted plastic and that are obstructing the outlet.
I recommend caution when using these needles because you can scratch the inside of the nozzle and this can cause problems.
9. Conclusions
Remember that the best way will always be to keep the mouthpiece clean.. You must clean it with a cloth or napkin before and after printing.
If there are plastic remains use a tweezers or pliers, or any tool that helps you remove the molten plastic.
In the most difficult cases, use the needles and the cold pull (as many times as necessary).
The option of immersing in pure acetone also seems good to me.
For the rest of the options (which are also valid) I highly recommend CAUTION, since it is necessary to work with hot parts and there may be Burning danger.
I would not recommend working with fire or torches as I consider it very dangerous, before burning yourself, I would prefer that you buy a new mouthpiece and that's it, they are totally cheap.
I invite you to read a publication that may interest you: Skirt Border or Balsa, which one to use in Cura?
Responses